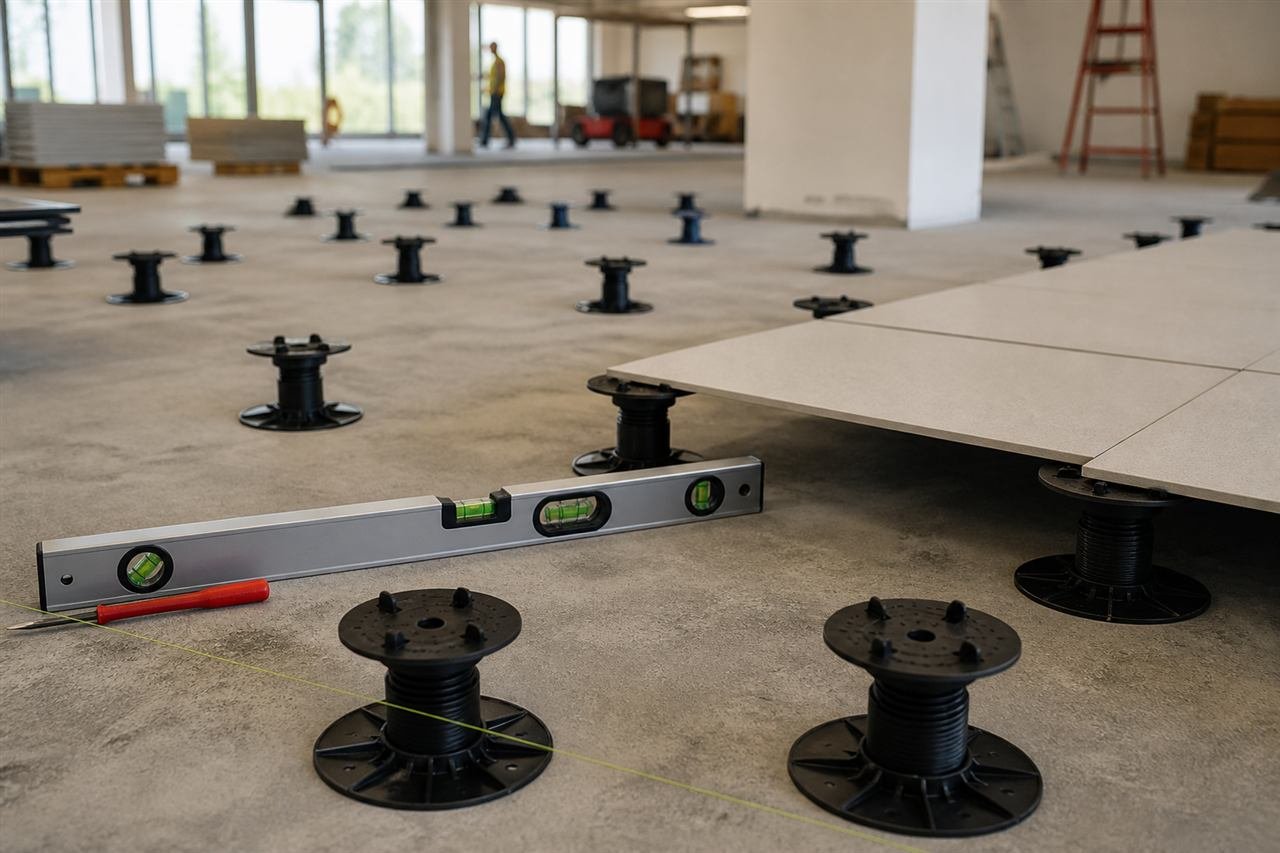
Proper raised floor pedestal installation protects warranties, walking comfort, and long-term access. This field-oriented overview helps U.S. contractors and facility teams coordinate with manufacturers’ instructions—always the final authority on your product set.
1. Prepare the slab
Sweep and remove debris. Repair major spalls. Mark control points from architectural benchmarks. Moisture and flatness issues should be documented before pedestals go down.
2. Establish the grid
Snap lines for the pedestal grid matching panel size (commonly 24" modules in the U.S.). Start from a clean control corner so edge cuts stay manageable at perimeters and columns.
3. Set bases and rough height
Place bases on layout marks. Thread stems to approximate FFH. Use a laser or builder’s level across the bay. Rough-in first; fine-tune after a few panels prove the plane.
4. Fine-level and lock
Adjust each pedestal to final elevation. Engage locking nuts so vibration and footfall do not unwind threads. Slope-correction heads should be set where slab fall exceeds normal tolerance.
5. Panels, stringers, and perimeter details
Install stringers if specified, then panels. Cut perimeter panels carefully around columns. Check for rocking panels—usually a height or debris issue under a head.
Quality control tips
- Randomly verify heights against the control plane
- Walk the floor for audible chatter or bounce
- Photograph as-builts for facility management
- Keep spare pedestals for future MACs (moves/adds/changes)
Need product data for a mock-up? Browse our pedestal series or call +1 516 360 1155.
Need pedestals for your project?
Talk with our team about adjustable and heavy-duty raised floor pedestals for U.S. commercial sites.